
So you are into photography with your heart and soul. And you bought a new camera, but unfortunately you can only shell out some money to buy a “Point and Shoot Camera” because your parents are not allowing for a dSLR. Don’t be disheartened, because even a point and shoot camera can do wonders if you know the art of photography.
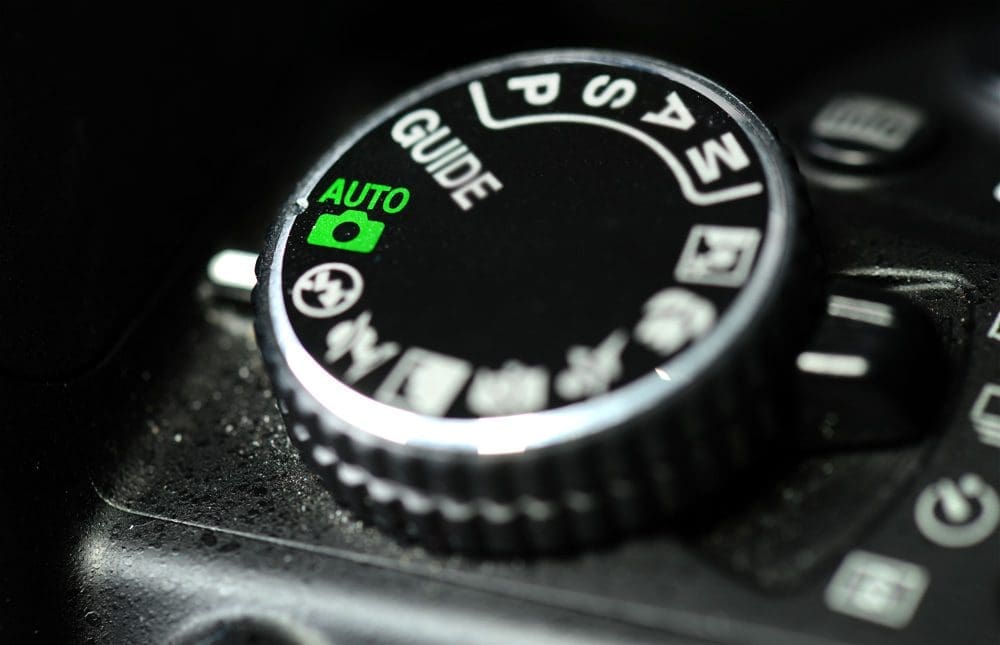
Many people buy a Point and shoot camera, but only few can take good pictures with that. It all depends on your ability to compose and execute your shot. You might have noticed that more than 90% of people who have a point and shoot camera never rotate the dial from the auto-mode, because they don’t realize the power of the camera which they have in their hands.
But my friends, you are in for a treat today as I guide through some simple settings which might help you take awesome photographs, “Beyond the Auto Mode”. As said by Lights Poxlietner, “You have to be uncomfortable in order to be successful, in some ways. If you stay in your comfort zone, you would never do the things that you need to do.”
So today you need to step out of the comfort zone of taking a photograph in just “auto mode”. You need to think for yourself, what is right for the photograph, instead of camera deciding it on its own. It will take some time to get accustomed to the settings but you can do a great job once you know what you are doing, instead of just blindly shooting and hoping that you get everything correct.

Starting with one of basic setting, ISO:
ISO is a measure of how sensitive your camera’s sensor is to light. Higher ISO settings allow you to take pictures in lower light without needing long exposures, which would result in blurry photos. Digital cameras allow you to change the ISO setting from shot to shot, according to your needs. It’s important that you don’t use the highest setting all the time.
There are a few very good reasons why it’s important to have the option of changing the ISO setting. The first is versatility. High sensitivity means you need very little light to get the right exposure, but sometimes you just don’t want the camera to be that sensitive to light! Examples are when you’re using creative techniques such as limiting depth of field by using a very wide aperture, or when using long exposures to capture motion.
The second reason to be mindful of changing your ISO setting is image quality. The higher your ISO setting, the more ‘noise’ (grain) you get in your image. This means the camera’s processor has to use noise reduction software to smooth things out. Together, noise and noise reduction have an increasingly detrimental effect on image quality as ISO increases.
Most digital cameras have ISO settings ranging from around 80 to 800, with a few going up to ISO 1600. Low ISO settings give the best results, and are perfect for bright, sunny days. High ISO settings let you take pictures in low light without a tripod no camera shake – which is why the ability to increase ISO is so important! Choosing ISO
•On bright days, when you want the best possible quality image, use the lowest ISO setting (in the region of 50 to 80).
•Use low ISO at night to avoid noise in your images, but make sure that you use a tripod to avoid camera shake. If you don’t have a tripod, increase your ISO.
•Use high ISO settings (400 and above) for low light shooting without flash, or for capturing fast action where a high shutter speed is essential.
•Always aim for the lowest possible setting for quality.
That’s all for this time folks, will return next week with the continuation of this article. Till then experiment with ISO at different times of the day and keep clicking. If you have any queries, suggestion or contribution, you can mail it to me at [email protected] or [email protected]. Your comments are welcome in the section below. Thanks!


Be the first to comment