Unlike zoos, aquariums are not environments which are conducive to good photography. The facilities are crowded, many exhibits have small viewing areas, lighting is poor, there is water and glass between your camera and the marine life, and flashes are prohibited in many areas.
With all of these obstacles and barriers to overcome, it takes tremendous effort, persistence, and time to get good aquarium photos.
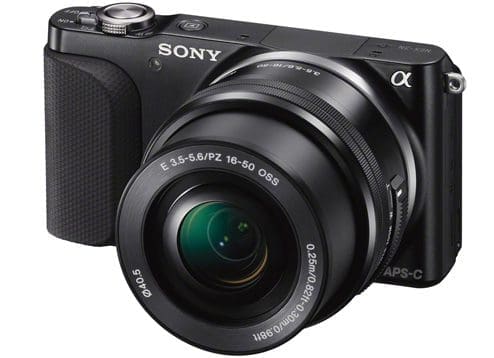
Before we provide the top 10 tips, the two most important items of aquarium photography need to be addressed before you get started. First, you must have a camera (digital with zoom is best) and a photo editor program. Remember that buying a good camera does not equate to good pictures. Developed skills give you good pictures. Practice with your camera and photo editor before visiting the facility. Try photographing objects at various distances under different light conditions. The big advantage of digital cameras and computer photo editor programs is that you can practice with both endlessly at no cost.
Prior to visiting the aquariums you should review the feeding and show schedules for the various exhibits.
Here are Zoo and Aquarium Visitor’s top ten tips to help you become a great aquarium photographer.
- Time of day and day of the week. These are the two most important components for aquarium photography. You have to visit when it is not crowded. Usually, arriving when the doors open will give you clean displays, curious marine life, and room to shoot.
- Dirty and smudged displays. NEVER bring a bottle of Windex or glass cleaner. It is poisonous if it gets into a touch tank. For that reason alone you may be held, charged, or questioned if attempting to enter the facility with a cleaning product. You should never attempt to clean a display.
- The content. What do you want to photograph and how will it be framed? Do you want a shot of the face, the whole body, or the exhibit itself? Your subject should fill at least 80% of the picture. If you are attempting to do a head or face shot, zoom in until it fills the majority of the viewfinder. If you are doing a whole body shot, make sure the feet, fins or tail is not cut off. Including coral and plants can help contrast the color of marine fish, and in the case of fresh water fish, inclusion of the background will usually demonstrate the fish’s camouflage ability.
- Angles. In an aquarium straight-on shots work best unless you are using a flash for the picture. For a flash opportunity you may need a slight angle. Be careful of interior light, and image reflections off the display as well. Once you have taken the shot you want, move to the other end of the exhibit and see what can be captured in your viewfinder. NEVER allow any part of your camera to touch the display. Scratches are expensive and difficult to remove.
- Camera settings. The rule of thumb with aquarium photography is that you can’t use a shutter speed that is too fast. Many facilities DO NOT allow the use of tripods or bipods. With most digital cameras you have limited adjustment of the shutter speed. You need a shutter speed fast enough to prevent a blurry picture of a moving object, yet you need to allow enough time for light to enter the camera so the photos aren’t too dark. To achieve this you will need to adjust your ISO setting to at least 800, possibly as high as 1600 if your camera is capable. When photographing in an aquarium, the lens will stay open for a longer period than usual. Try to stabilize the camera by placing the base on a friend’s shoulder.
- ALWAYS carry extra batteries.
- Take the camera’s instruction book with you. Use it until you have all of the proper settings for each situation memorized.
- Patience is a necessity with both the species you are photographing and other visitors who will get in your way. Call in advance and ask when the school visits are scheduled. You may want to avoid trying to shoot during those times. But at some facilities, such as Georgia Aquarium, students have there own viewing areas.
- Look for flash restrictions before starting. Some species are attracted to the flash anticipating a food source, others get spooked or agitated. Pay attention and look for the “No Flash” display signs.
- Planning. Do your homework before you arrive. Know which species you wish to photograph and where they are located. Get there before the displays get dirty and the crowds fill the viewing area. List in descending order the species and the locations that you wish to photograph during your visit.
Manners and etiquette while photographing at an aquarium.
- Photographers do not have priority or special preference over other guests. Don’t expect priority or become annoyed when visitors walk between you and your shot.
- Do not do things to get the fish to look directly at you. This includes knocking on the display, flashing objects, or teasing with food.
- Respect the barriers. Do not climb to obtain a closer shot.
- Do not shoot close ups of other visitors without their permission.
After the visit.
- Download and view your photos as soon as possible. This will give you the best chance to remember the circumstances at the time each photo was taken. It will help you improve in the future.
- Delete at least 80% of your pictures. Honestly evaluate your photos for content, light, and overall quality.
- Only show your best 5 photos for the day.
- Use your photos to recruit at least one new person to accompany you to photograph the fish during your next visit. Recruit an independent photo judge.
- Take pride in your work.


Be the first to comment