
Smoke photography can be fun !!!
If you have spare time and are really bored and if you want to pass time then I would recommend you to try this technique. Smoke is a great subject for Photography. You don’t require expensive gear. Your camera, flash and some common household equipment are enough.

STEP 1 : Equipment
1) CAMERA– With MANUAL mode allows you to control the shutter speed, ISO and aperture.
2)Off Camera flash – Well many say that an external flash is required for shooting at a high shutter speed. I don’t have an off camera flash so I had to work with the camera flash. I placed a small white paper in front of the flash to diffuse it. This really helps in getting a soft light on the image.
3) Table lamp– This compensates the off camera flash. Place the lamp next to smoke and make sure that the light falls on the smoke. This will illuminate the smoke.
4) Reflector – Place it opposite to the light source. It will reflect the light on to the smoke for better detail. I pasted a white chart part on a cardboard and used it as a reflector. It worked perfectly.
5) Black Background – I used a black chart paper, you can use anything which is black to capture the smoke. A black background is necessary to capture the details of the smoke perfectly and it is also easy to post process your image in Photoshop.
5) Incense sticks and holder – Incense sticks give a pleasant smell and thick smoke which looks beautiful when captured.

STEP 2 – Set Up
- Put up your background
- Place the Incense stick on a holder about 2ft away from the background
- Place the lamp one one side of the stick.
- Place your reflector in the opposite side
- Take your shot from the front, about 2-3ft away from the set up.

STEP 3 – Camera Settings
- Manual mode.
- Low ISO – 100 (or lower if your camera allows).
- Small aperture- Anything between f/8 – f/16.
- Fast Shutter speed – 1/250 sec
- Manual focus is preferable ( faster than Auto focus ).
- White Balance – Auto
- Shoot in RAW format ( if you can ).

STEP 4 – The Shoot.
It doesn’t really matter if the lights in the room are on or off. The basic idea is to get a dark background with smoke on it. It really helps if there aren’t any ambient lights.
Begin by taking some test shots to check you exposure and then adjust your settings accordingly.
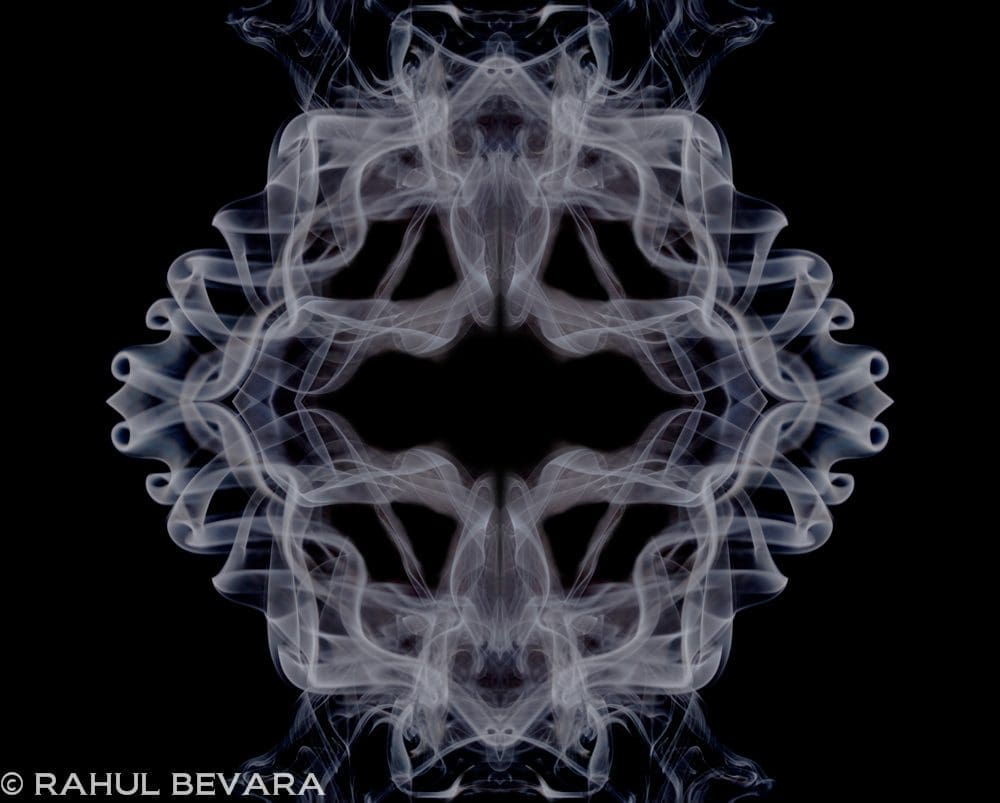
Try to capture the different shapes of the smoke (swirls, loops etc) from different angles. The most important thing to remember is to be patient and take a lot of shots.
STEP 5 – Post Processing
After you open the image in ADOBE RAW or directly on Photoshop ( for JPEG format ).
- Increase the BLACKS to get a perfect dark background.
- Duplicate the layer and then play around with the HUE & SATURATION settings or PHOTO FILTER settings to color the smoke

To get a white background instead of black go to
- Image > Adjustments > Invert.


These basics are enough to get a perfect picture. Rest all depends on your creativity. Play around with the settings in Photoshop till you are satisfied.


Thank you for reading. Hope you liked it . I would like to see your comments, reviews or contributions at [email protected] .
To view the pictures in high quality do see them on my Flickr page http://www.flickr.com/photos/97863598@N05/
Be the first to comment