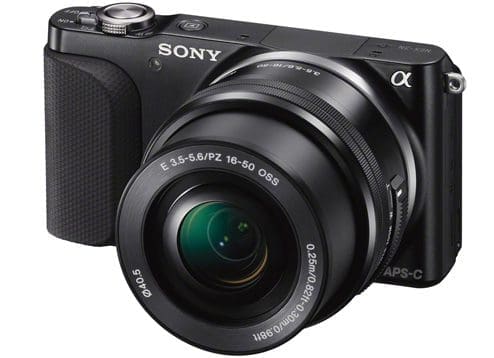
Set the Time.
It is absolutely essential that the time and date on the video are absolutely synchronised with time being recorded elsewhere. Unfortunately, the clocks in the cameras are not very accurate.
To set the cameras. At the start of each day check the video clock. The video clock does not show seconds, check the exact time at which the minutes change on the video display to get the time error. Make a note of this in the video book. Reset the clock if required (under menu) and take a sequence of video of the computer displaying the NMEA server program as the minute changes on the video as a further test of the video time. At the end of each working day take the same video sequence and make a note of any time discrepancy.
Mounting and Setting up
Mount the camera on the tripod head on top of the big eye. If the base plate and head have not been tampered with the alignment should be OK. Check alignment by lining up the big eyes on a distant object (a rig, ship) and checking that the object is in the video frame. It should be just below the mid line (to make it more likely that when a whale is being videoed the horizon will be in view too.) This is usually a two person job.
Check the focus at this time too. Focus will be more critical if a faster shutter speed is chosen giving a wider aperture. It is generally best to let the camera’s auto focus find the focus then set it back to manual (button front left of camera).
Once the camera is mounted attach the power cord and the video feed to the back of the camera.
Plug a microphone in and check using headphones that it is working and your voice is being picked up.
- Frame mode,
- Data display on
- TV (shutter priority) mode.
Using the video
It is generally best to have the camera standing by with the button in the lock position between filming sessions. (Leaving in standby cuts wear on the tape heads and the camera will turn itself off after a few minutes.)
To start a recording, switch to standby, once an image can be seen in the screen press record.
Check the framing both in the side screen and with a remote TV if attached.
For analysis, images need to show both the horizon and the object to be measured in the same frame.
The telephoto zoom can be adjusted, for example to accommodate an animal at short range, but a calibration sequence must be taken after each sequence to be analysed which is not taken at maximum zoom before the zoom is changed again.
If you think you are using max zoom it is always useful to reach up and press the zoom button (top right on camera) to ensure that maximum zoom has been reached.
It is very important to speak information on to the tape. This will help greatly with the subsequent analysis.
At regular intervals give an accurate bearing measurements from the bearing ring.
(When adjusting the height of the big eyes remember to always rotate the top stock fully clockwise before tightening.)
Also provide a commentary describing the animal’s behaviour (call every blow), give animal heading relative to ship’s heading. Describe any features that might help the analyst find the whale in the image (if its very distant and hard to see for example).
Describe anything that might be happening out of shot.
When the animal leaves the surface, or the recording has to stop for some other reason, announce a final bearing and animal heading and take a calibration sequence. Be sure a note has been made of your tape number and end tape time (in mins and secs).


Be the first to comment