You come across a beautiful sunset just in time. You don’t want to miss the opportunity of clicking a breathtaking photograph. You reach out to your pocket, only to find your mobile phone with you. The only thing missing at that moment is your camera. Most of the time, people do not carry their cameras with themselves and miss out on capturing beautiful shots wherever they go. Setting up your camera, tripod and other equipment takes a considerable amount of time. So, in this case, what do you go for? Your smartphone will be the only option unless you carry your gear with you all the time. Smartphones do a pretty decent job, considering how smartphone camera design and technology have evolved. In a place like Manipal, where cotton candy skies are a sight for sore eyes, you will need to prep yourself with these essential mobile photography tips and become a pro on the go!

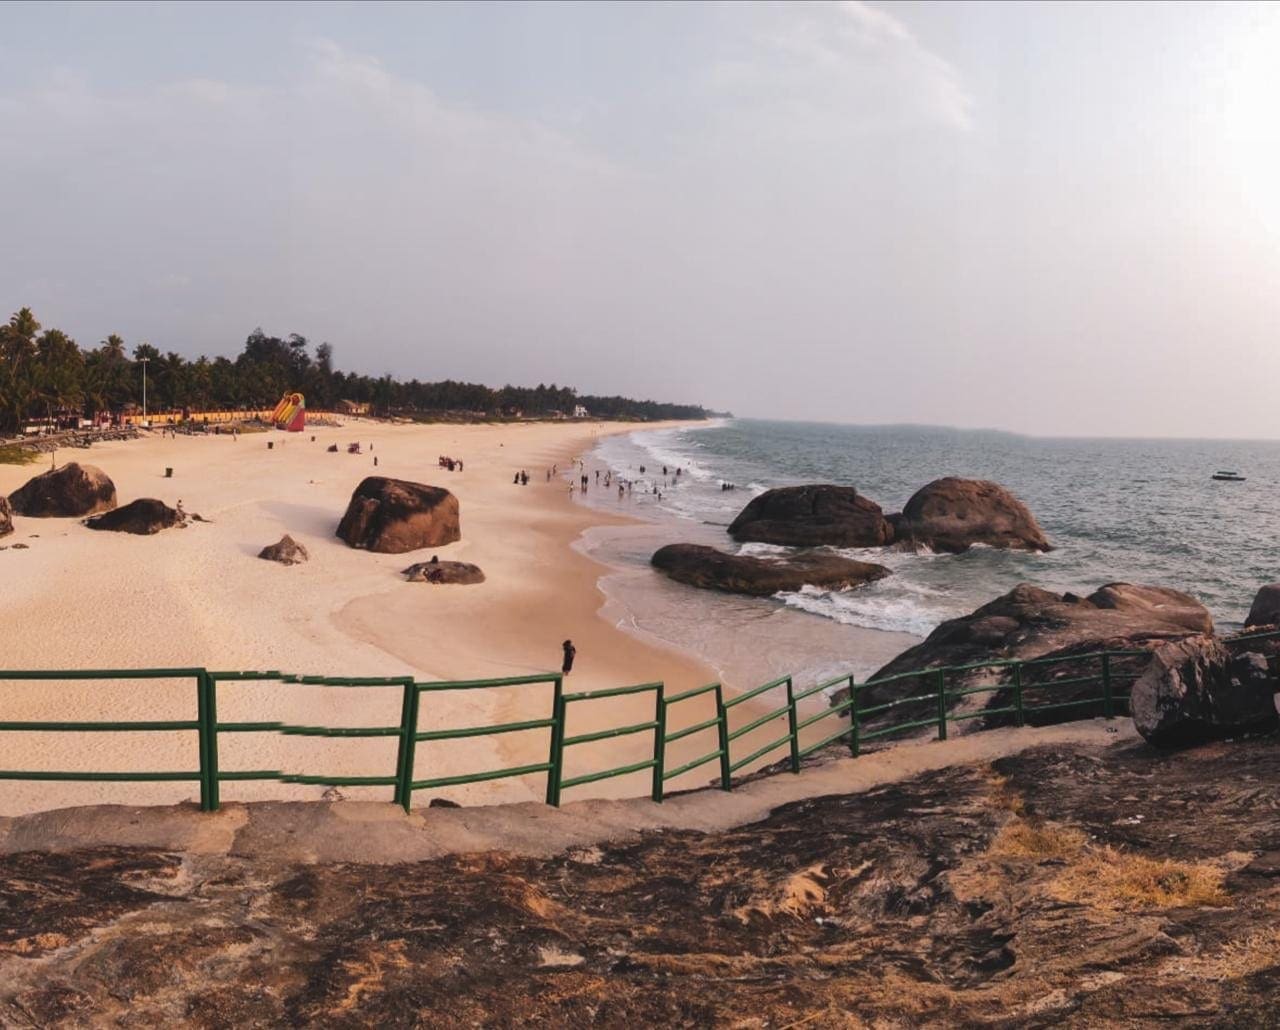
Kapu Beach, Udupi. (Image credits: @sharonacaptures/ Instagram)
A Few Tips to Keep in Mind while Getting Started
Mobile phones may not give you a clear and crisp shot as compared to DSLRs. The manual settings in your smartphone are not adjustable, and the megapixels are considerably low. So, to capture a great picture, you need to focus on the basics like the lighting, colors, and where your subject is placed (framing). If you focus on these fundamentals, you’ll be able to create some on-point and amazing shots.

Kapu Beach, Udupi. (Image credits: @sharonacaptures/ Instagram)
Also, keep in mind that post-processing or, in simple words, photo-editing is important to enhance your photos and increase their quality, but it is completely different from recreating photographs. You can edit your photos heavily but you cannot depend on your editing powers all the time. Photo-editing programs are just additional ways of ‘improving’ your shots. Editing has played a vital role in the way photography is perceived today. It allows you to transform the picture into a professional shot. The software required comes up with options to add filters, adjust the lighting, give focus on the subject and so on.

Kapu Beach, Udupi. (Image credits: @sharonacaptures/ Instagram)
When I visited Manipal for the first time, I explored the beaches initially, which were breathtaking. Clicking photographs of the sunset and trying out panoramic shots from my smartphone was a new experience. Sure, I knew about the features but never got to try them out. Visiting new locations, especially a scenic beauty like Manipal can definitely up the level of your photography experience and of course, you can also enjoy the view!

Kapu Beach, Udupi. (Image credits: @sharonacaptures/ Instagram)
One of the most important tips is to always shoot in HDR mode (you can go to settings and check it out). High Dynamic Range or HDR creates better images by detailing and giving them proper framing. Then again, it is quite subjective and depends on your angle and the subject.
Framing your Subject
Framing is very important when it comes to clicking photographs. You need to make the viewer understand where your object lies since observing photos is fairly subjective. Framing includes your background, the symmetry and the angle in which you are shooting. When it comes to the background, many people tend to blur it or tap on the object to maximize the focus. This makes the object pop out from the photo and gives it a sophisticated look. To have a symmetrical image, turn on the grid lines on your camera and you’ll see 3×3 boxes, total 9 in number and divided into frames. This technique is called the ‘rule of thirds.’ After this, place your subject in the middle box since our vision tends to focus on those points. Giving a new perspective to your shot can be done by clicking your pictures from various angles. For example, try to point your smartphone upwards and crouch yourself, thus creating a ‘lengthening’ effect.

Kapu Beach, Udupi. (Image credits: @sharonacaptures/ Instagram)
Post-Processing
The first thing you can do to edit is to make your photos have bright, stunning, and vibrant colours by adjusting the vibrancy, exposure, and contrast. Apps like Adobe Lightroom and Adobe Photoshop are great photo-editing apps that you can use for post-processing. We may think an image is great already. But if we try to compare the photo after editing, the original often looks so dull and lifeless. You can also subtract unnecessary objects or adjust the picture. For example, you might have ended up with something unsightly in the background or you were taking a picture and someone stepped into the frame at the last second. You can easily remove the avoidable subject from the frame by using the healing tool.
There are a whole host of things that can be achieved through photo editing. Some of the tools are cropping, adjusting brightness, removing a background detail, sharpening photos, applying levels, contrast, noise, grains, colours, etc., to enhance photos and if required, converting black and white photos to colour photographs.

Kapu Beach, Udupi. (Image credits: @sharonacaptures/ Instagram)
There is something one should be careful about. If you’re planning on making even basic changes to an image, you should also keep an original unedited version of the file. This way, you’ll always be able to go back to the original version.
By Sharona Sachan

Be the first to comment