


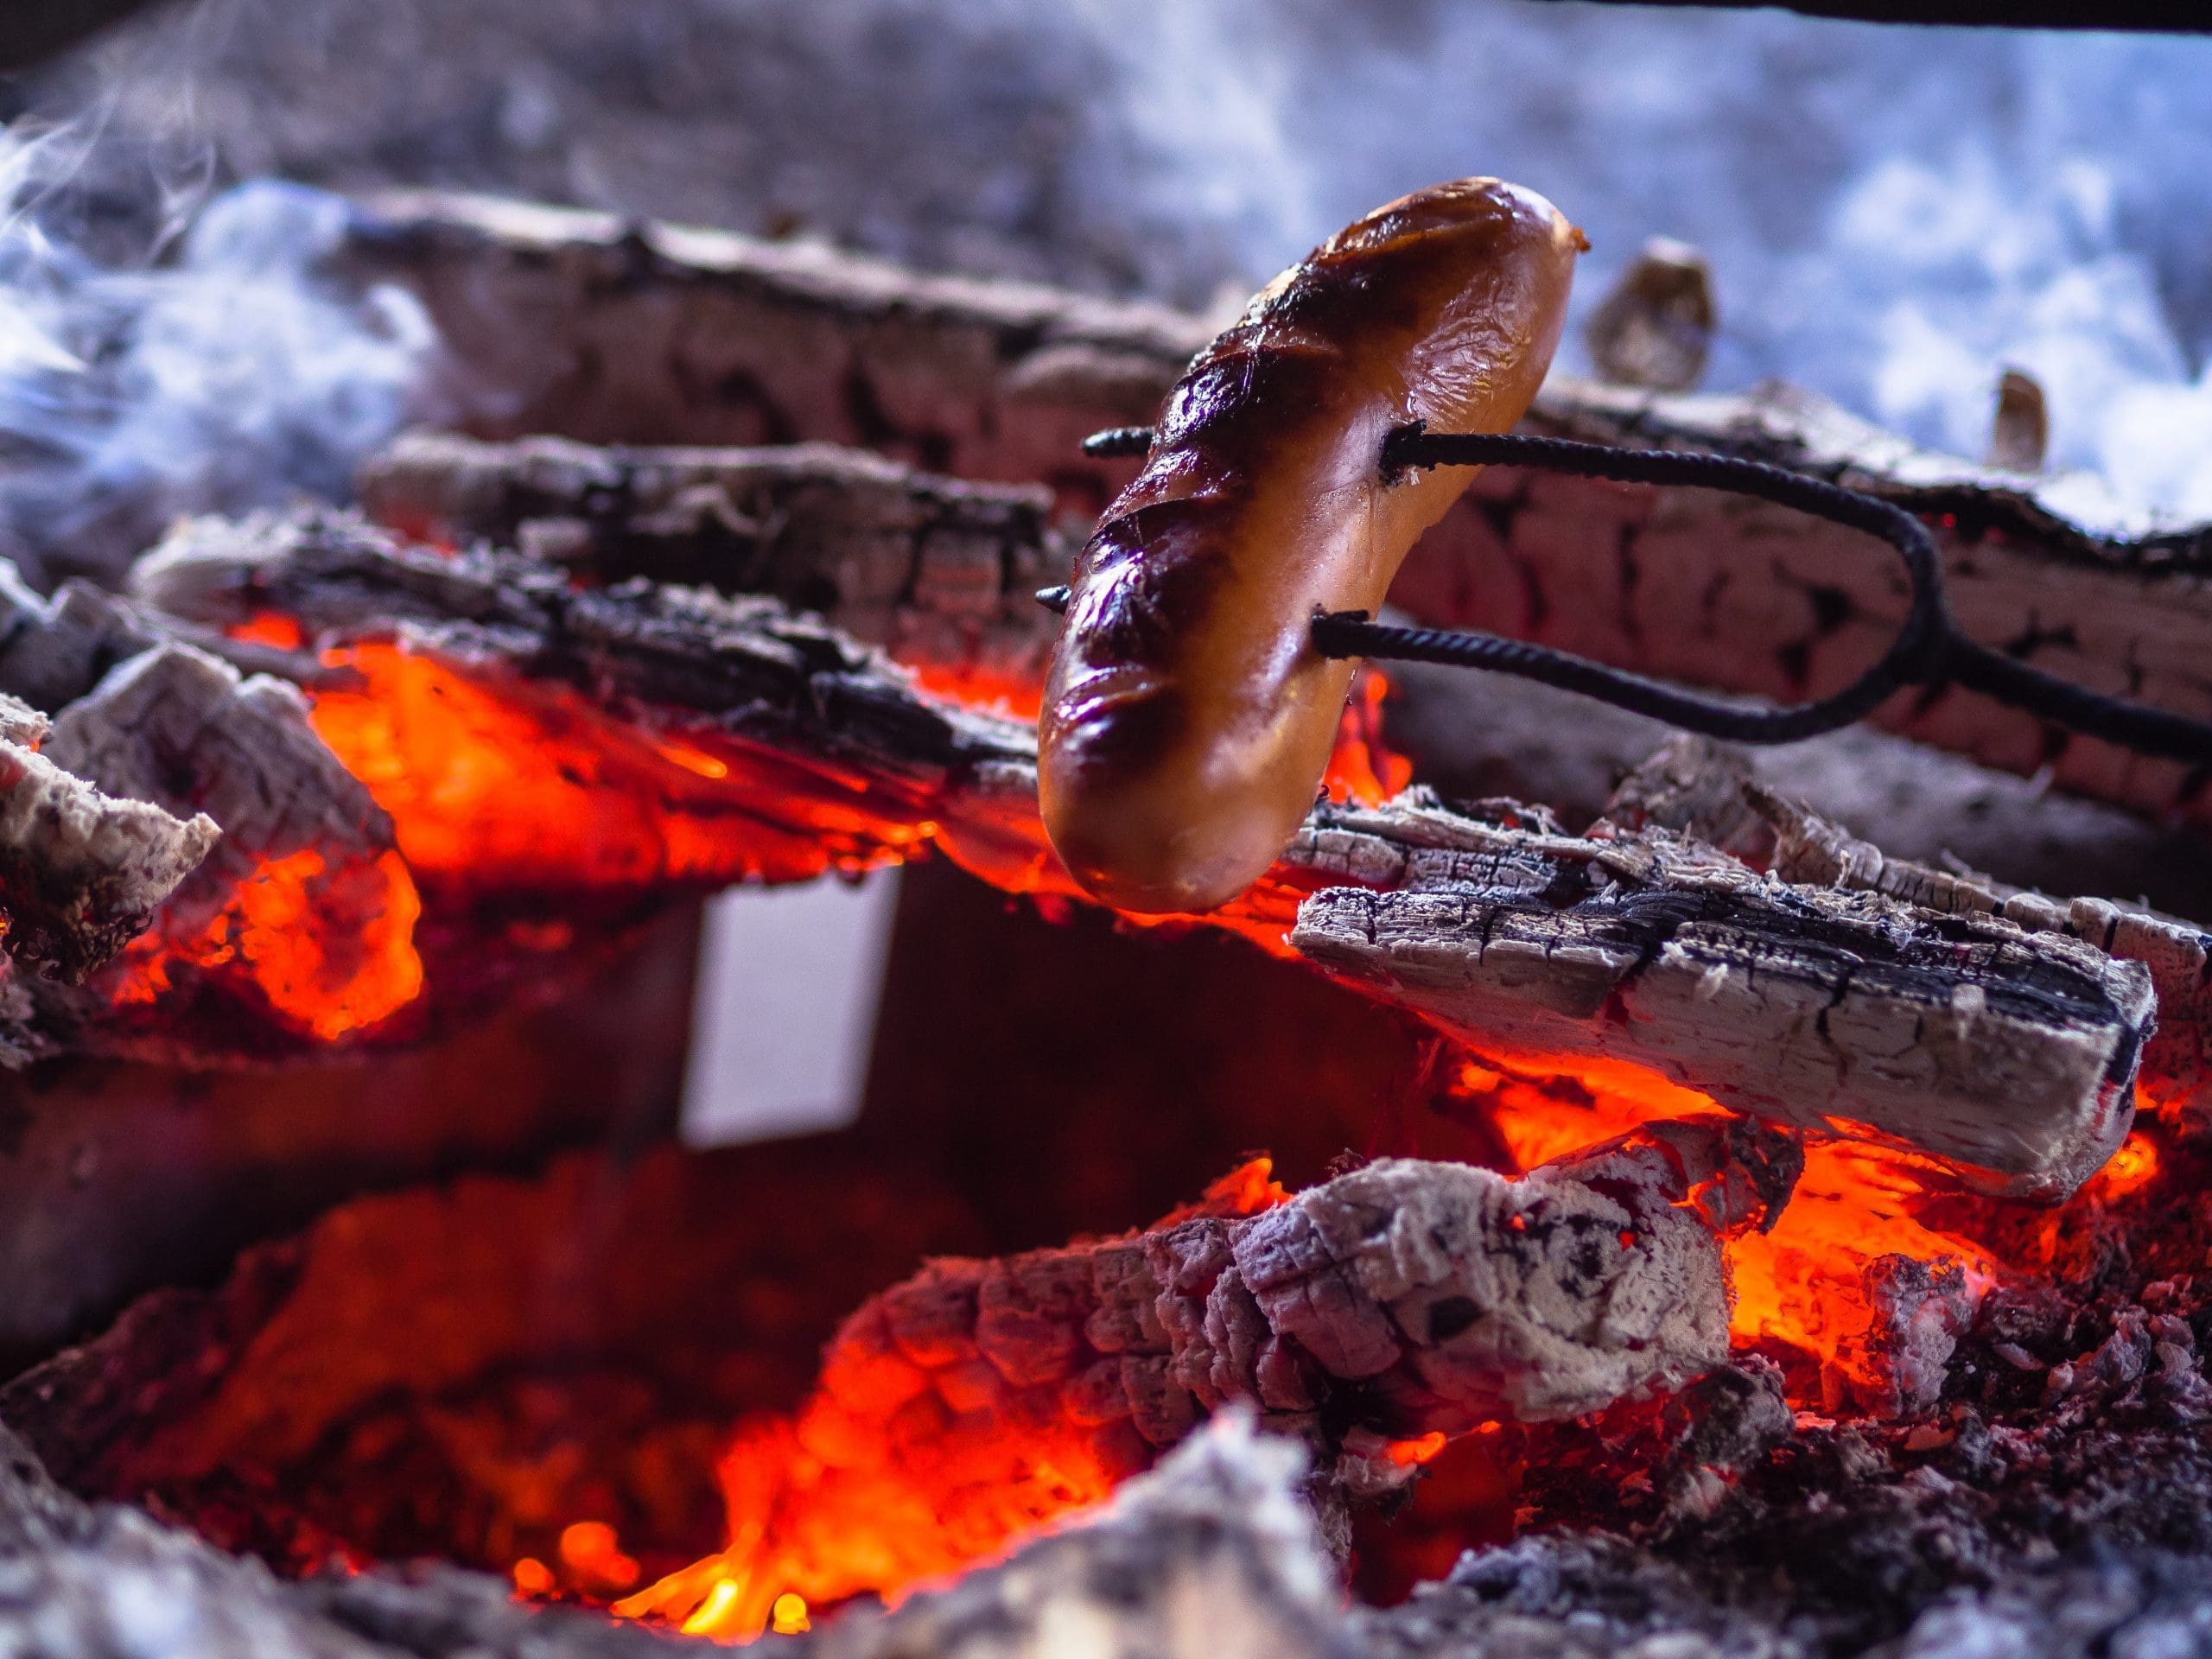
Often when you have bought a new grill and want to start grilling on it, the only thing that might be standing between you and the juicy burger you want to eat might be the charcoal fire you have to start before you can grill anything on your new grill. Beginners often find starting a charcoal fire and then maintaining its intensity. However, by following a few trade tricks, any beginner can soon begin to feel like a professional when it concerns charcoal fires.
Using a Chimney Starter:
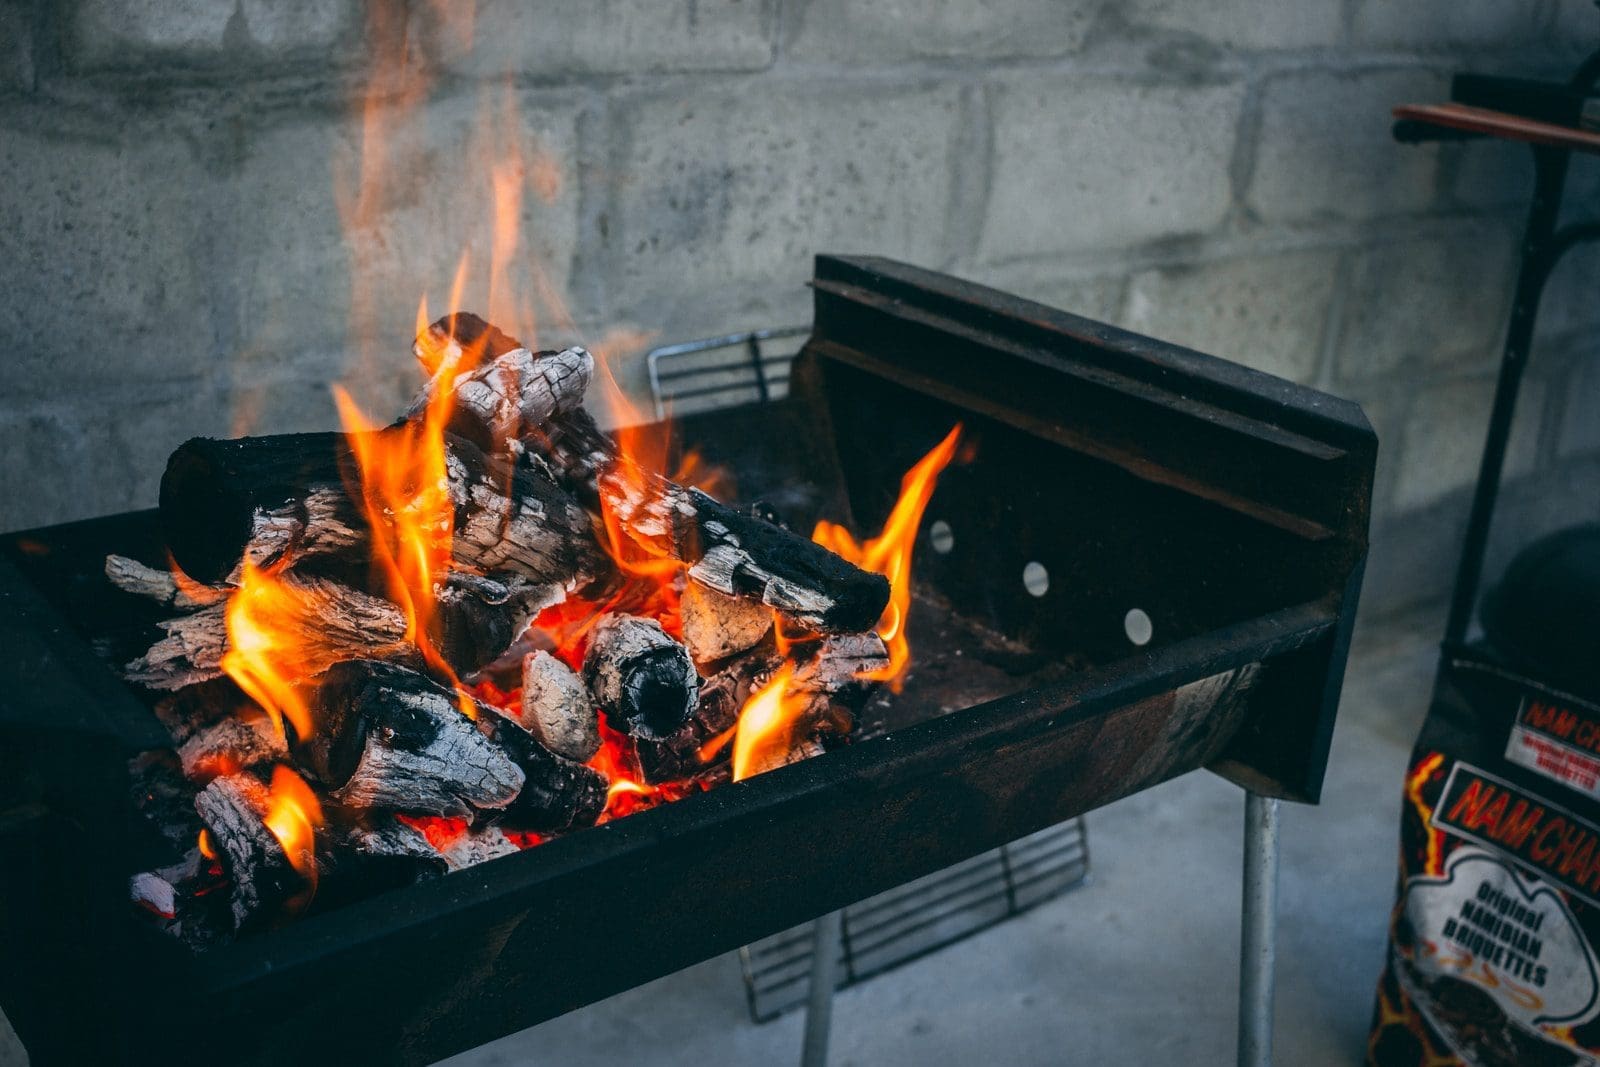
A chimney starter or charcoal chimney is one of the easiest ways anyone can start a charcoal fire. It is a cylindrical-shaped metal container with no top or bottom, and there are vents made in the form of holes all around the cylinder for air to pass through. One of the main advantages of a chimney starter is the absence of starter fluid while lighting the fire.
The few steps to follow for starting a fire in a charcoal chimney include putting a layer of dry scrunched newspaper or any form of a paper at the bottom. However, if you find yourself missing this element and cannot find any kind of paper where you are, all that needs to be done is gather a handful of dry twigs to use as the starter. The aim of using paper or twigs is to provide the charcoal with a giant-sized matchstick, which can stay lit long enough for the coal to catch the flames.
Using Lighter Fluid:

Using lighter fluid, it is essential to use a long match or a grill lighter when lighting a fire. It is also crucial to keep in mind not to pour the fluid onto already burning flames and to keep the fluid container away from the fire and hot grill. Often individuals can get excited about the first fire they have made and forget these simple precautionary tips causing harm to themselves or others near the grill.
Maintaining the charcoal fire:
Often, starting the fire is the easier part, and keeping the flame alive and maintaining the heat in the charcoals once they have caught fire is the more challenging aspect of the whole grilling experience. Following these simple tricks will ensure you have a hassle-free barbecue session:
- Keep the charcoal well ventilated: keeping the air running through the charcoal provides two different functions. On the one hand, it gives the fire the oxygen it requires to keep burning, and on the other, it keeps the ash off of the charcoal, ensuring they don’t get smothered by it. Many grills have a built-in manual fan that can be run by rotating a crank. However, a small handheld fan should do the trick just fine if you do not have that option.
- Keep the charcoal in a pile: keeping the charcoal in a tight pile ensures direct and robust heat. While cooking, it is a good idea to use long metal tongs to maintain the tight structure of the charcoals. Since a single piece of coal will not provide enough heat to cook anything significant and will burn much faster.
Smoking Process – Low and Slow
The main difference between a bbq smoker and a charcoal grill is that a smoker keeps the fire away from the food product. A smoker contains the fire and keeps the temperature low enough to cook meats around 225-250 degrees.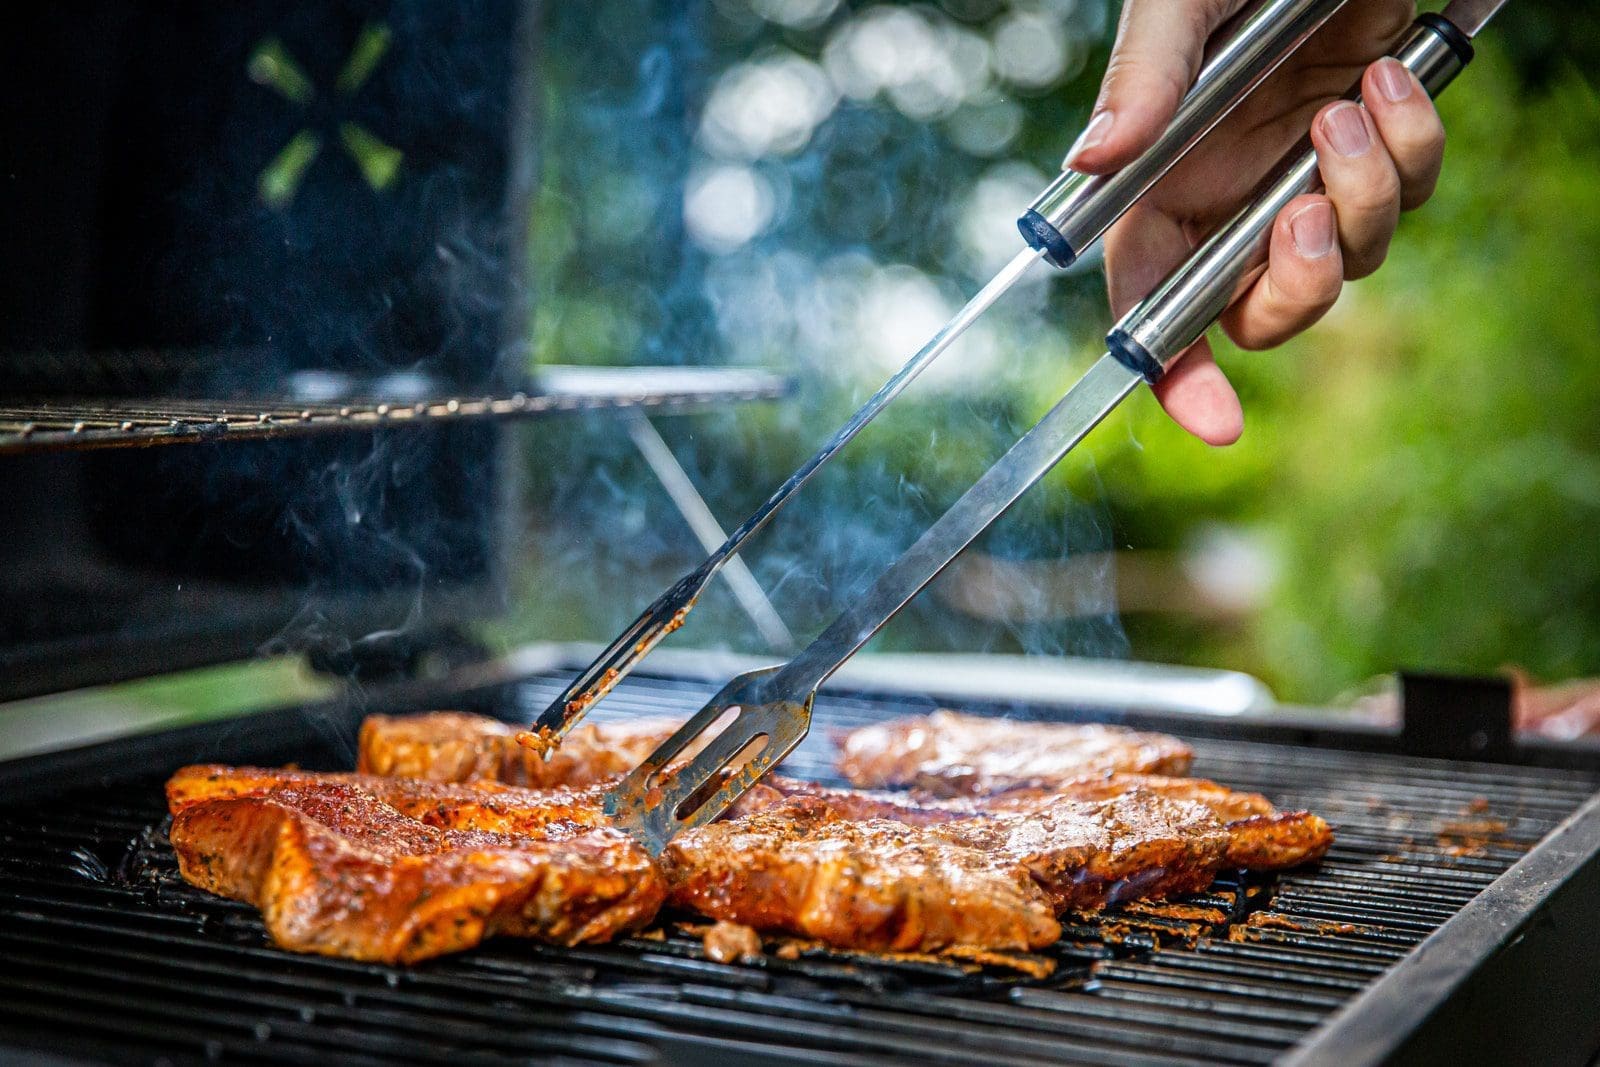
Barbecue requires a certain attention to detail and a significant investment of time, but it doesn’t require a big beast of a smoker. Your humble bbq grill will do just fine, and we’ll explain how to use it. Use the indirect method of cooking (smoking). This means the coals or wood will be on the vent end of the grill (usually, 10 to 12 inches will be enough). The product will be on the grate but not over the coals or wood.
- Season your desired product with a rub or marinade the day before because you need plenty of time for the process to do its job. As one famous Chef says, season both sides of the product. First, wash the product and pat dry with paper towels if you use a rub. Generously apply the rub over the product, then wrap it in a few layers of plastic wrap and refrigerate. If you use a marinade, put the product in a watertight plastic container large enough to hold the product and plenty of marinades. Cover the product entirely with marinade and refrigerate.
- The product’s weight will determine how long to cook and when you should start the cooking process. Allow for an hour or more of cooking time for each pound of product. Example: A 12-pound brisket figures 12 to 14 hours of “low and slow” smoking. Usually, we want a temperature of 200 to 225 degrees. Example: If the brisket takes 12 hours, you will serve it at 6:00 pm. This means you start the product at 6:00 am. This is an example of time investment. If the product gets done before serving, it works well to cover and place in the steam table for holding. One famous Chef says it works well to add sliced fruit on top of the product while holding. It helps with holding the moisture.
- Remove the product from the refrigerator 1 hour before smoking. This lets the product warm up a little before you put it in the smoker. This process eliminates Creosote (nasty stuff) build-up on the walls of your smoker.
- Use a drip pan in the smoker with water or beer directly under your product. This process helps keep the product moist and your smoker clean. The grease has to go somewhere. You may have to add water during the smoking process.
- Start your fire while the product is warming to room temperature. Start making coals from your desired wood. Use charcoal as your base and add soaked wood chips or small cut logs to the coals. We feel you get a much better flavor if you use real woods and less processed briquettes or pellets. After all, you want that true wood-smoked flavor. Don’t use lighter fluid on the wood. It will soak up petrochemicals from the fluid. It will ruin the taste of your product. Try to use a natural starter for the coals, such as a newspaper. If you use lighter fluid to start your coals, be sure they burn down to gray before you add the wood.
- Put the product in the smoker. You’ll lose heat when you open the lid, but that’s okay. Just add some more coals. Your main job for the next few hours is maintaining your desired temperature of 225 degrees. You will need two thermometers for this process: an instant-read meat thermometer to check the temperature of the meat near the end of the cooking process; an oven thermometer next to the product for a quick check when you open the lid to mop, spritz or turn the product.
- Adjust the temperature by adding more coals and wood, tweaking the bottom vents (if you need it hotter, open more vents), or lifting the lid a few inches for a few seconds. Leave the chimney vent open at all times. This allows the smoke to flow freely over the product and out of the smoker. If you close the chimney vent, the fire won’t draw correctly, bad smoke will build up, and the fire will die.To keep the chimney vent clean use the services of chimney sweep indianapolis.
- The temperature will vary during the cooking process, but that’s okay. You should try for an average temperature of 225 degrees. If you get above 225 degrees, close the bottom vent a little if you get below 200 degrees, open the bottom vent a little and add some coals. Try to minimize the number of times you open the lid; this lets out the heat and adds to the cooking time.
- Mop, spritz, or turn the product about every 45 minutes. We think spritzing is preferable to mopping because it’s quicker and more efficient. This is important because the longer the lid is open, the more heat you lose. To spritz, get yourself a spray bottle at the local hardware store, then consider all types of liquids, flavored oils, vinegar, juices, or water with your favorite seasonings. Remember that liquor is flammable, so refrain from using your favorite whiskey for spritzing. If you have to use your favorite whiskey or beer, use the mopping process.
- The product is finally done when the instant meat thermometer registers the appropriate reading for the type of product you’re cooking. Remove the product from the smoker and let rest on a platter or carving board for about 10-15 minutes before you start carving. You will notice a nice pink ring around the edge when you cut into the product. That’s good! It’s from all that tasty smoke. The pink is how you know it’s barbecue. Many think, especially with fowl, that it is not done, but we know it is. Just think about this! How could the product be done on the inside and raw on the outside?
- Carve or slice the product against the grain. This is important with all cuts of meat, especially brisket. If you prepared pork shoulder or butt, you must form a “pickin” party or pull it off the bone. This is just about city law in the Kansas City area.
Following these few tricks will leave you feeling like a professional at barbecues, and your skills will impress friends and family attending said barbecue. With these tricks up your sleeves, making a juicy burger or grilling a hot dog on the patio grill will be the most rewarding experience.